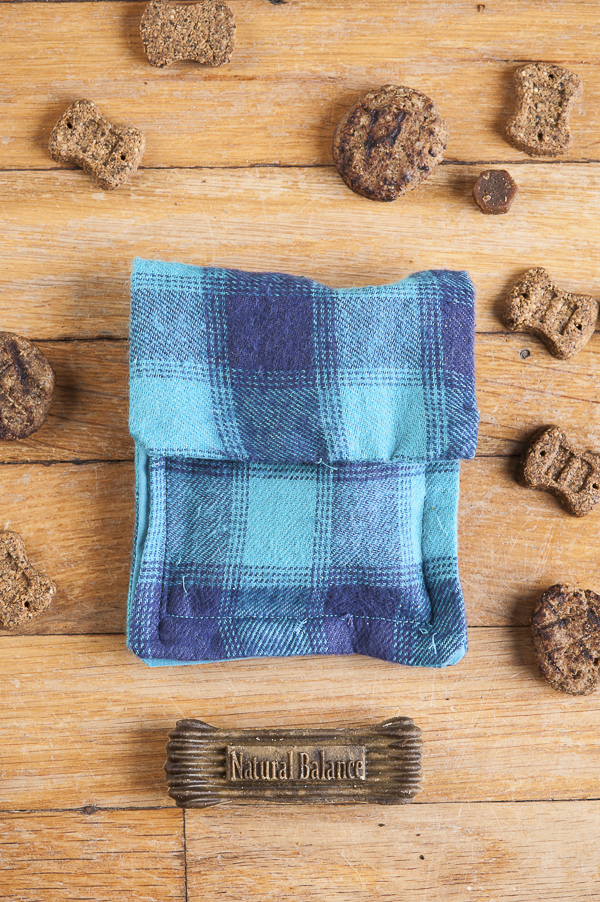
Treat jars are one of my favorite things to make and give as gifts. I had an idea of what I would make this holiday season, and then I saw some of the healthy treats from Natural Balance®. Small, delicious (according to our six dogs total), and nutritious they are perfect for helping keep a dog happy and focused while on a walk or during a training session. Inspired, I quickly abandoned the jar idea and decided to make a DIY Dog Treat Bag- perfect for when you’re out with your dog.
This bag is straightforward to make. Trust me, my sewing education began and ended in 8th grade, and I have rarely attempted to sew since then.
This post is sponsored by Natural Balance and the BlogPaws Professional Pet Blogger Network. I am being compensated for helping spread the word the word about Natural Balance Treats, but Daily Dog Tag only shares information we feel is relevant to our readers. Natural Balance is not responsible for the content of this article. All photos by Alice G Patterson Photography. This post also contains affiliate links, which means that Daily Dog Tag will make a small commission at no additional cost to you if you make a purchase via the link. Thanks for your support!
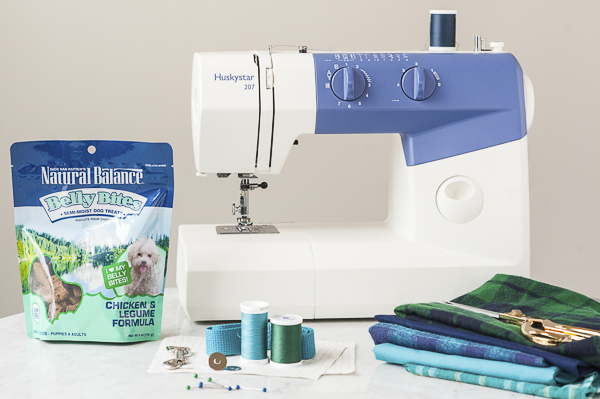
Supplies for Dog Treat Bag
- Fabric (prewashed)
- Thread
- Scissors
- Ruler or pattern
- Pins
- Sewing machine/needle and thread
- Fasteners (Snaps or Velcro
- Natural Balance Treats
Optional Supplies
- Natural Balance Treats
- Clip
- Webbing or ribbon
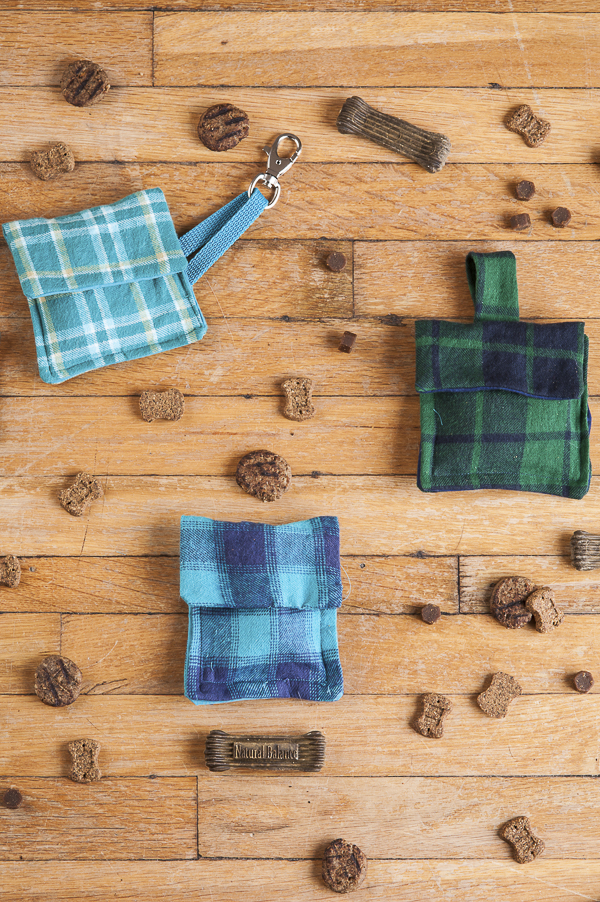
This bag is a simple pocket with a flap that closes, similar to a clutch purse. The construction calls for a long piece and a short piece, and I added a lining to each side.
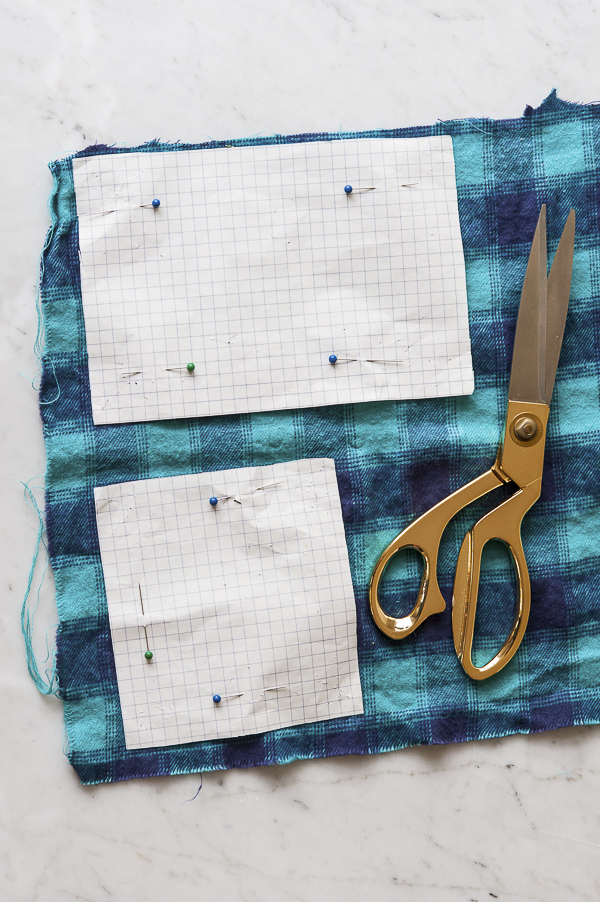
I made a pattern out of graph paper and pinned it to my fabric. Repeat for coordinating fabric.
Cut 2 pieces:5 inches by 7 1/2 inches (one flannel, one coordinating fabric)
Cut 2 pieces: 5 inches by 4 1/2 inches (one flannel, one coordinating fabric)
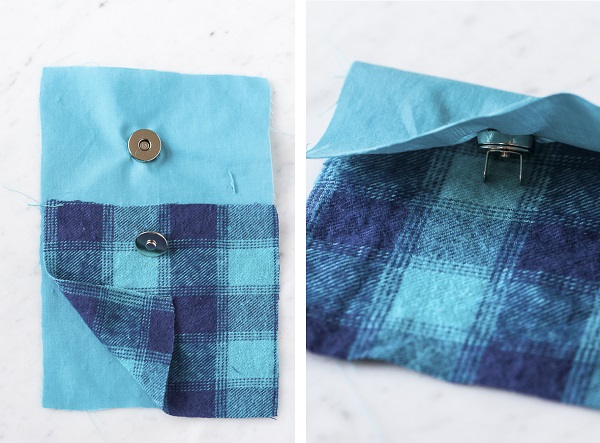
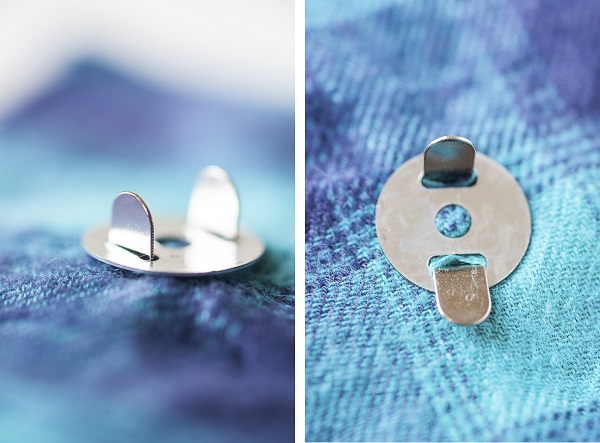
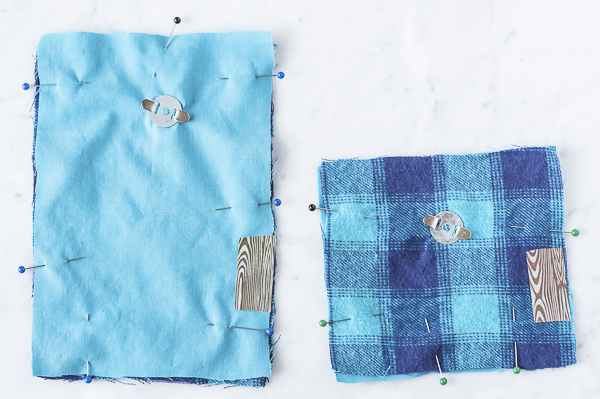
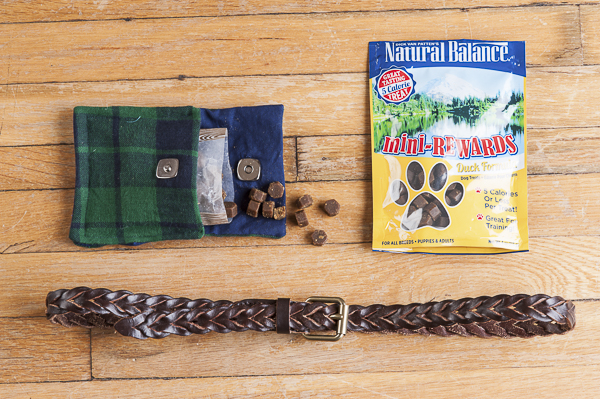
If you are using magnetic snaps, attach the snaps next. Attach one part of the snap to the lining of the large piece, the other half of the snap will go on the smaller flannel piece.
Line up the snap where you want it to be; I eyeballed mine. After attaching the first snap, I folded the flap to ensure the second snap was in the right spot.
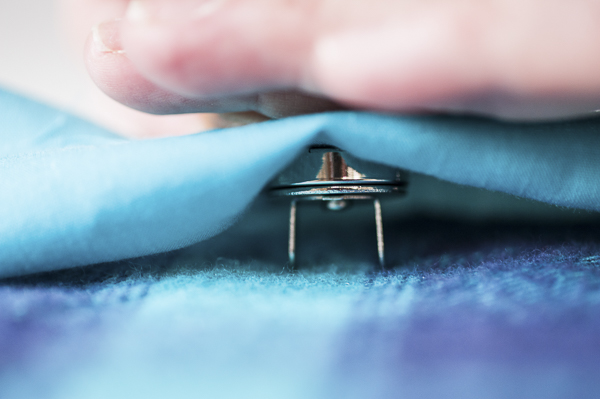
By pressing down firmly, I made a small impression allowing me to see exactly where I wanted the snap to be.
Cut a small hole with scissors, insert snap in. Place back on and push prongs down.
I had never used magnetic snaps before and was surprised how easy they are to attach and how well they stay closed.
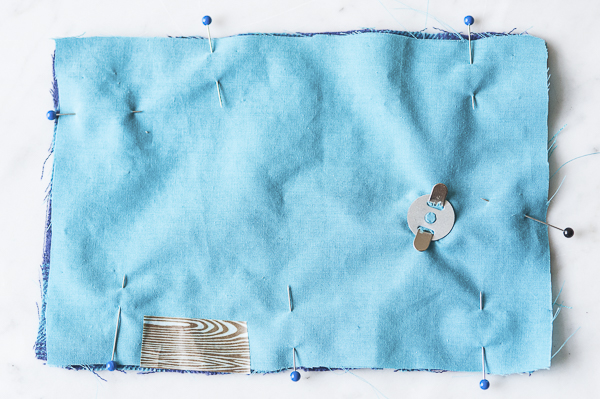
Pin the corresponding pieces of fabric together (if you are using fabric with a “good” side, put right sides together.) The working part of the snap should be in between the fabric layers, as shown in the photo.
You’ll need to leave an opening to turn the fabric right side out; I marked mine with tape as a reminder.
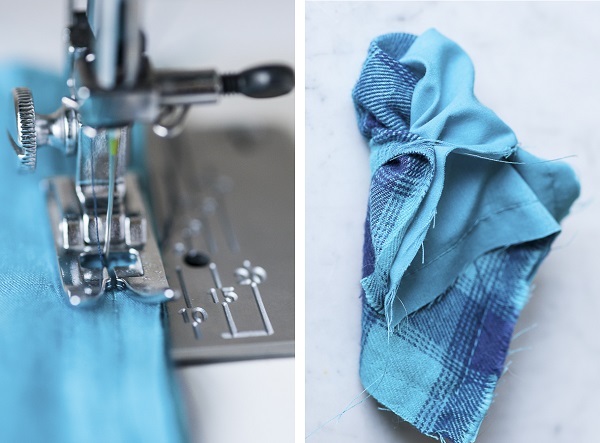
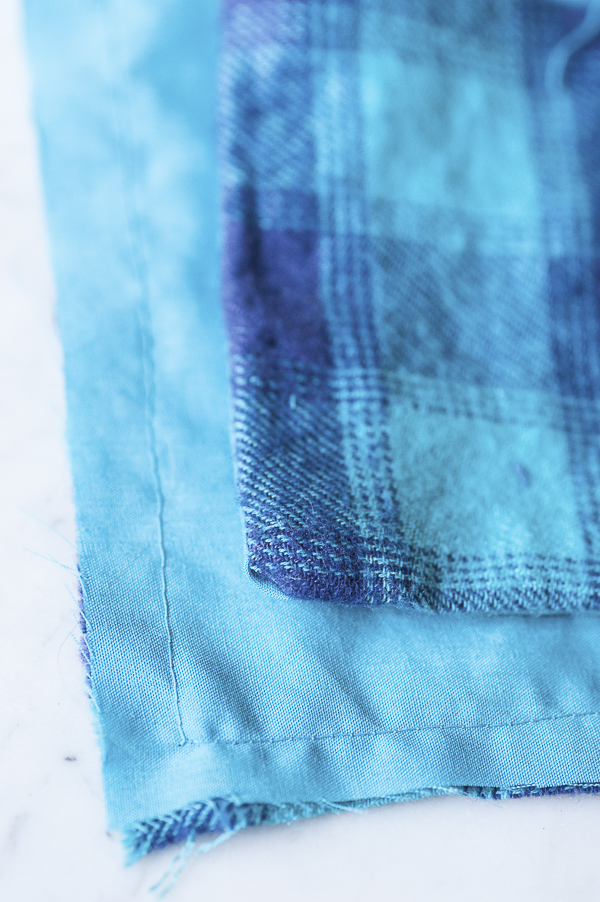
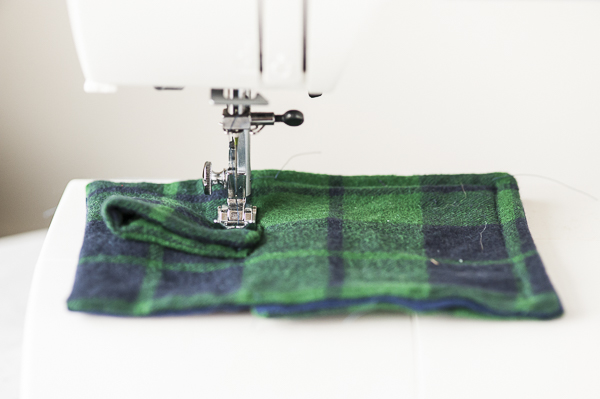
Stitch the large pieces together. Turn right side out. Repeat process with small parts.
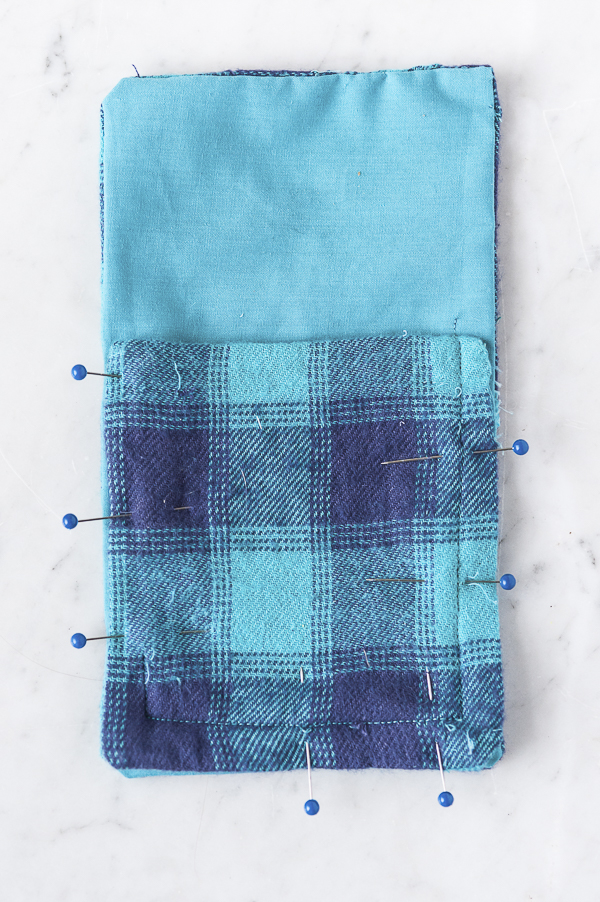
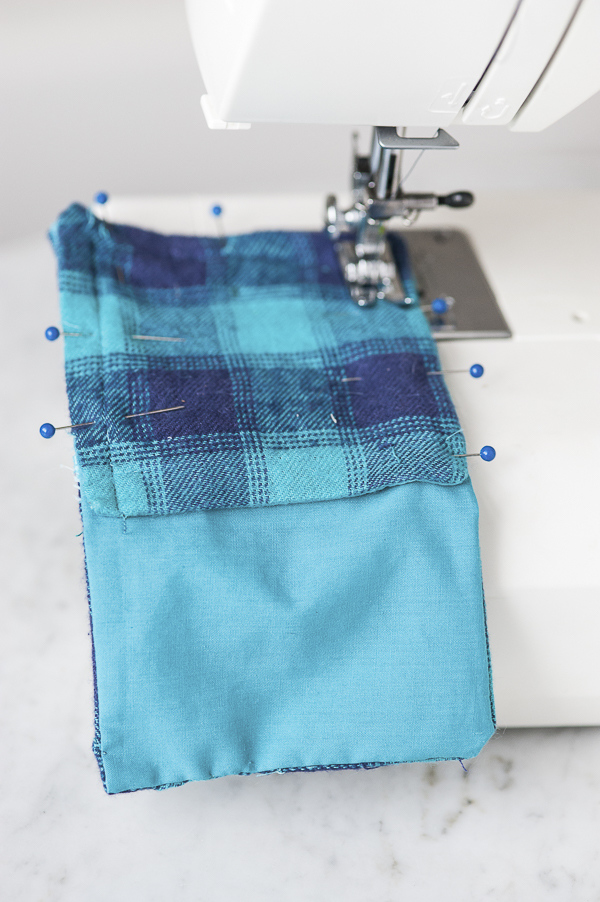
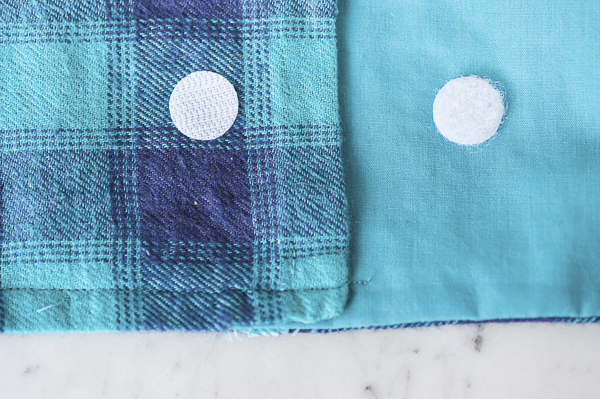
With right sides out, pin the two pieces together, making sure the lining touches each other and the flannel is on the outside. (I switched bags, and this one will be fastened with velcro, if I were using the snaps, they would be visible in this photo.)
Pin and sew along the bottom and two edges just until the smaller piece ends.
If you are using Velcro, attach the velcro. I used self-sticking Velcro for this one, but I recommend either sewing it on or going with magnets.
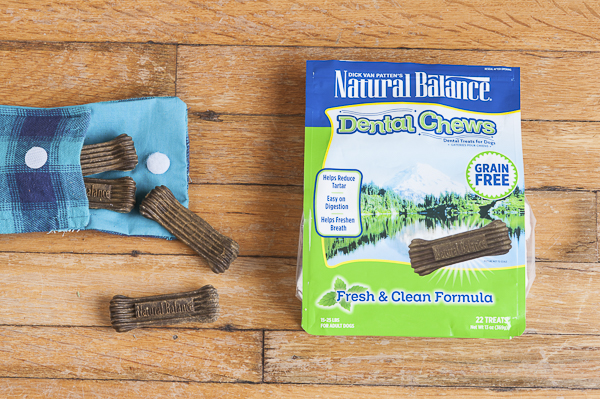
Since one of my dogs has a grain allergy, I was pleased to see the grain-free dental chews!
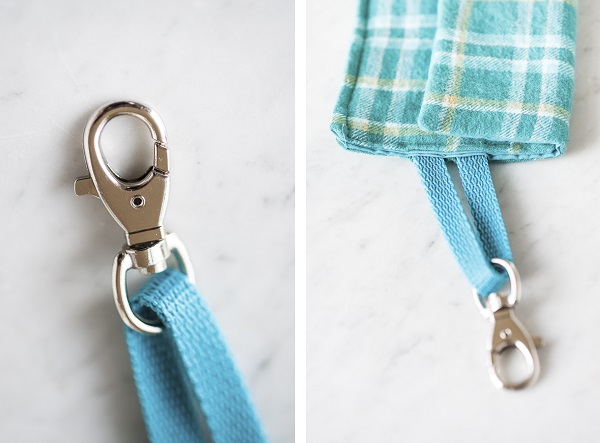
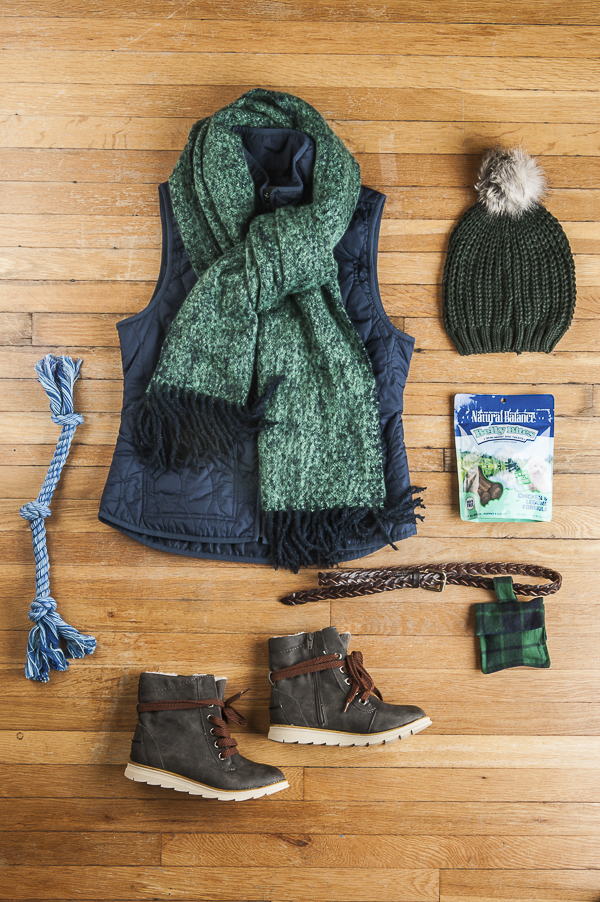
Initially, I wanted the dog treat bag to fit in my coat pocket, but then I remembered I don’t wear a coat year-round. I decided adding a clip would add some additional functionality to the bag. To add a clip, I simply folded some webbing in half and stitched it to hold it in place. I inserted it in between the lining and flannel of the large piece during the final sewing phase.
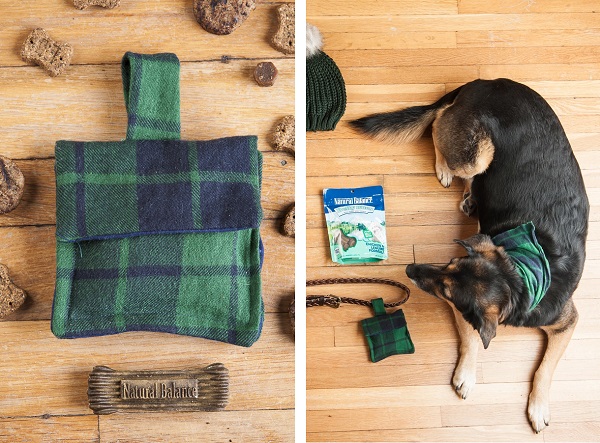
As always, as soon as Alice and I make something, we think about ways to improve it. Adding a belt loop seemed like a good improvement. Making the belt loop was even easier!
I took a piece of flannel about 2 inches by 4 inches, folded it in half (the long way), and sewed it closed. Next, I sewed one end, turned it out, and sewed across the other end. I folded it in half and machine-stitched it to the backside of the bag right at the fold.
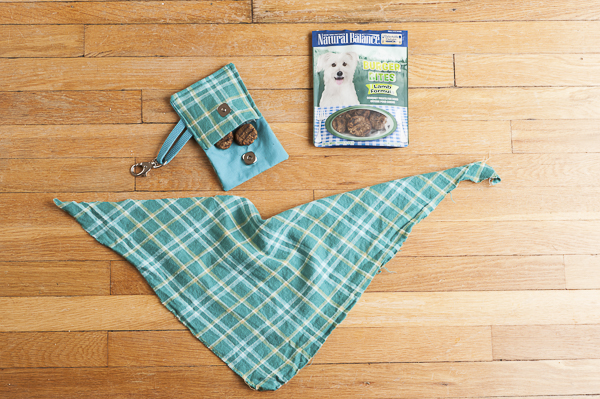
Fill with treats, and you’re ready!
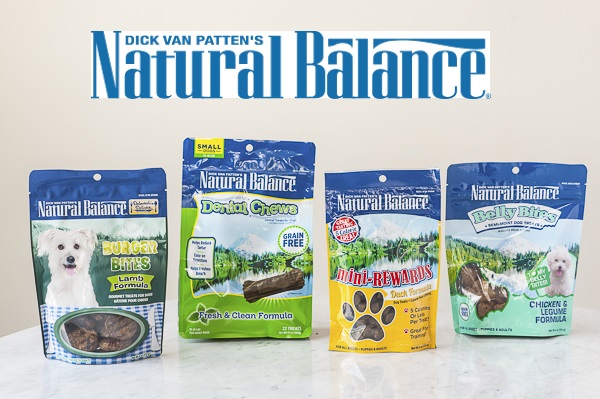
All of these treats are made from high-quality proteins without any added coloring or artificial flavors.
You can purchase these nutritious treats in many retail stores and online.
The health and safety of pets are the top priority for Natural Balance Pet Foods. Natural Balance is consistently testing all of their products for contaminants so that you can Buy With Confidence Guarantee.
Follow Natural Balance on Instagram to see a lot of great dogs.
Check out some of our other DIYs for the dog-obsessed!
About Alice G Patterson Photography: Based in Syracuse, New York, Alice specializes in dog photography, senior portraits, and photography for businesses, including product photography.





Wow!! You are a pawesome sewer – and made these cool little treat holders look like an easy DIY project! Momma’s motivated to try it! Great little pouch to carry around some good Natural Balance treats!
Firstly, the treats sound great! Secondly, I just LOVE what you’be done here!! Wow! Well done!
What a clever idea! We like the clip idea…or the way you attach it to a belt. Cool!
Oh my mouses! That’s an ADORABLE treat bag and I think you did an amazing job making it. A cute little bag like that filled with treats? Wow. Just what any doggy or kitty would wish for. purrs
Purrs,
Seville
Wow! What an awesome job you did with your treat bag! I just love it! I cannot even sew on a button… so I am very impressed with your sewing skills!!
Thanks so much!
That is really awesome! I don’t know if my sewing skills are even that good. You did a great job, and adding a belt loop is perfect.
This is totally adorable! You win so far on the Natural Balance DIY treat containers!
LOVE it! Inspired to take my sewing machine out. Golden Woofs
Thank you!
I think your home ec teacher would be proud. And the dogs no doubt love what you put in your bag!
Very stylish. Much more so than our current solution!
This is such a great idea! Love the addition of the belt loop; so easy!
Cute! We often used slow-cooked meat for treats (less calories per volume than dehydrated) so fancy pouches wouldn’t do well with that, though 🙂
I made a waxed paper liner too just in case the treats were messy, but these ones don’t need it.
Well you must have been a star home ec pupil ’cause this treat bag is fabulous! I love it!! Perfect for yummy Natural Balance treats on the go! I’m so pinning this to my DIY board
Love & biscuits,
Dogs Luv Us and We Luv Them
I really like that treat bag, I’ve got to try it when I get another sewing machine. Such a cute little project!
Thank you Lindsay!
I love the cute blue treat bag you made! The project looks easy enough for someone to do even if they don’t have a lot of sewing experience, too.
Love your treat pouches!!! Great idea. These treats sound great.
Thanks, my dogs love the treats!
Oh I love these treat pouches. I’ll have to make some Talent Hounds and Kilo the Pug ones with matching bandanas- so cool and coordinated. You make it seem easy.
They really are a lot easier than I expected them to be. I’d love to what you come up with!
I’m very impressed. I haven’t sewn in decades! That is a great idea for a treat bag.
Looks easy and love DIY projects!!! 🙂
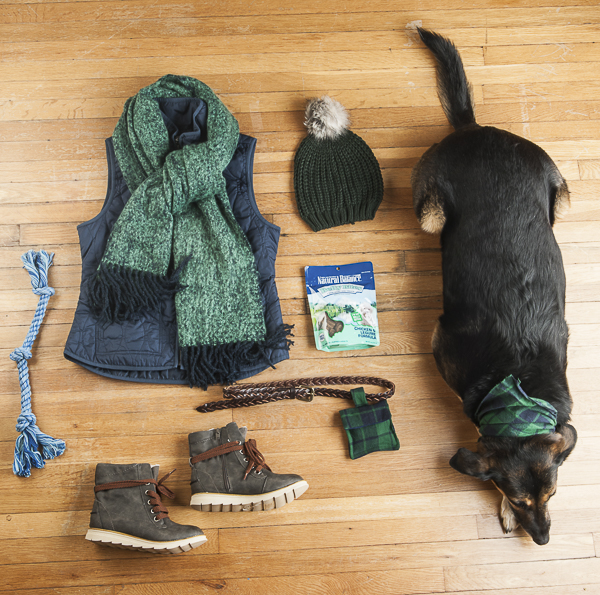
These look wonderful and I love how you added the clothing and of course your pup to the pictures! Awesome job!
Thanks!
Wow you did a fantastic job!
Thank you Carol. As soon as I saw those treats, I was inspired to do this. They are just so perfect for taking with you on a walk or hike.
That is such a great idea! I love that you made your treat bag attach to a belt loop. Hands-free is the way to go! Very cool. 🙂
This was a fantastic DIT project! Very creative, very unique and inspiring me to want to try my hand a one. Nothing this ambitious though!
Thanks Bernard. Once I figured out the design, it only took me half an hour to make one from start to finish.
The great thing is these bags are washable as well! Great instructions!
–Wags (and purrs) from Life with Dogs and Cats
Thanks Susan!
What a great DIY project! Love that the bags are washable!!
I think you should open an Etsy store and sell these to anti-DIY people like me. 😉 Seriously, these are really cute, and I can’t even sew on a button correctly.
Thanks 🙂
Amazing! Go the DIY!!! Well done, and I especially love how EVERYTHING was color co-ordinated… eleventy billion points for fashion-match!
Thanks for noticing!
This project is stunning! I’m in love… 🙂
Thanks Bernard!
First, I love this DIY. Second, your pics are gorgeous!! Well, they always are 🙂
Thanks Aimee! All the photo credit for this post goes to my awesome sister, Alice Patterson!
Aw, the combination of the bag and the bandana is so cute! I think I’ll make it for my three hounds after Christmas. Looks pretty easy to make!
You were featured in Dog Milk! http://dog-milk.com/dog-i-y-easy-diy-dog-treat-bag/
Thanks! I ‘m very excited!
Love it I like it’s washable and I can attach to leash or my belt